Sep 10, 2014

Every good game needs terrain...

...so let's make some woods!


   It is very important to me to have decent terrain for playing the game. Maybe even more important than perfectly painted miniatures themselves. Not that I don't care about nicely painted minis, but I'd rather play game in the meantime while painting the army, and in Open Fire set, there's a lot to paint! So, I have decided to do some terrain too! And what better than woods!

   First, I used Open Fire cardboard 2D woods as a pattern for my woods. On hard cardboard I drew those shapes and I cut them. After applying glue and sanding, it was time to paint them. I sprayed them with black acrylic spray and then I used relatively cheap water colours ("tempere") and this is the first result:


Yeah, I used some stones too


Looking great ;)


   This was quite a fast job actually, as I thought it would be way more time consuming. After that, there should be some grass, right?

   For grass flocking I mixed extremely cheap green static grass and not so cheap scorched grass blend, to make it more interesting to look at. 


   And you can relax and enjoy playing with all the small details you can come up with:


   However, the most time consuming part here are, of course, trees. I don't want to make another tree anytime soon. I suppose I'll be saying that for painting infantry once I manage to do that. I started making trees before making these wood stands and continued to make them while making wood stands. I used green car wash sponge and later when I made trees I dipped them in diluted dark green water colours. This turned out to be more or less effective, so I will have to ad some finishing touches on them next time I have the opportunity.

This isn't all, I had to make more of them (13 more!)

Trees are drying


   Finally, stands were finished. In the mourning, when the trees are dry, Ill be assembling woods!


   See you!

                                            FoW begginings

It was good day to start FoW :)


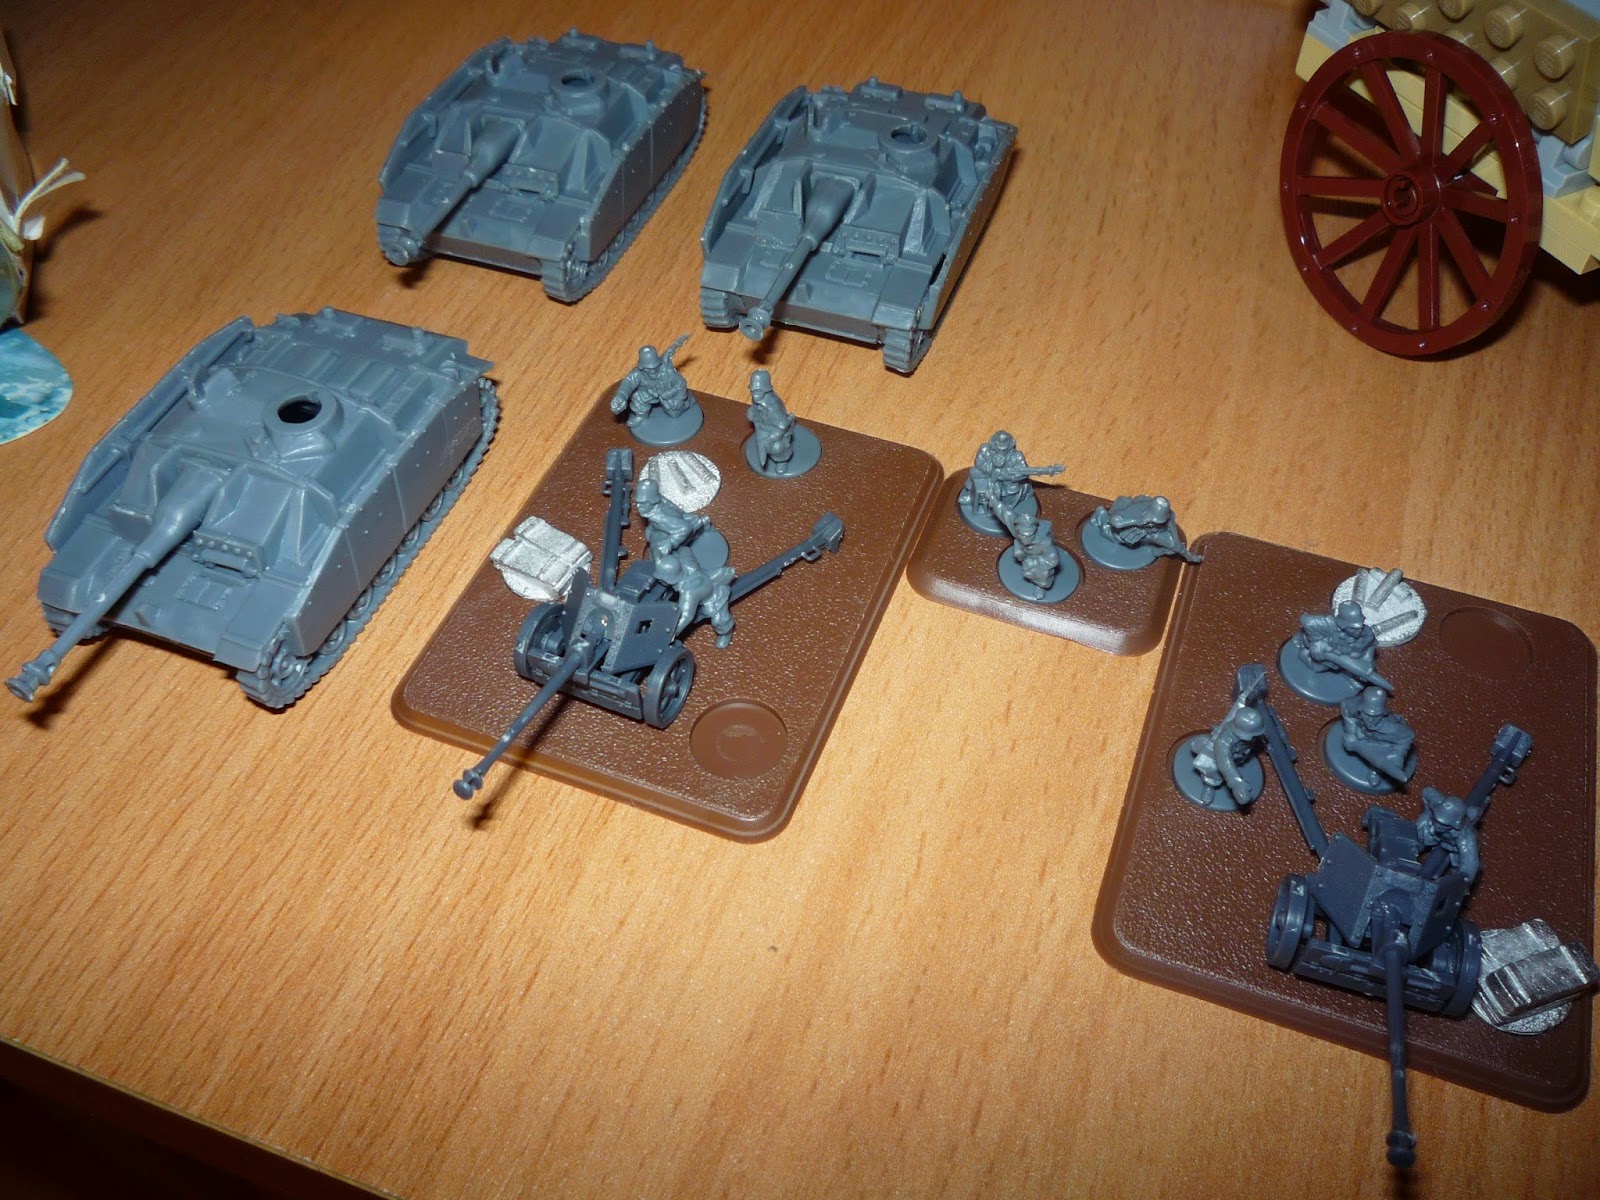
   For everything there's the first time. In this case, those were Stugs from Open Fire set. Also first assembled were Pak40s :)

   Then, there was some trials and errors, experimenting as one could say:


   I had great idea of spraying them (after black overcoat ofcourse) with acrylic spray in this beige colours, and then adding camo pattern with green and brown, however, I didn't know that the spray was glossy and not even wash could fix it. so I had to start all over again and this time with brush. esult is on second photo. Kind of "middlestone", though I made it with GW colours myself.
   After that, there was time to learn painting camo:


   I was very pleased with the pattern while painting, only to find out that I got lost somevhere at the half of it and that it's not very historical. At all. And I didn't stop with experimenting, all of my three Stugs are different. Hey, it's late war, anything goes!


So this is the first one :)


And with the rest:


Battle scared


Command vehicle with air recognition flag


   Next project, Pak40s!
   
   See you!


Sep 8, 2014

Flames of War

In the meantime...

While this blog of mine seems deserted, things are cooking in the real life. Since 2013, i got myself into FoW. Something I wanted to do for a longer period of time. I bought Open Fire starter set, as it is great for beginning, and you can expand those two forces nicely for friendly games during cold winter months. Set is assembled and half painted. Why half painted? Because I wanted to play the game as soon as possible. And for that, more important thing for me than painted minis, are decent terrain pieces. So, yes, I'm multitasking. Painting minis and making terrain from scratch. I'll be posting progress here, so this blog should get alive again.

Finished Pak40 command

May 10, 2013


T-34
(work in progress)
Made in two days so far, during the May holidays

Still need to put light and fenders in the back. And of course still have to make whole diorama with snow but that's work for some other time...


I wanted to leave front hatch open but since I didn't have driver figure and it would make turret impossible to rotate freely, I have decided to make it just slightly open and according to picture above, I tried to make locks from tooth picks and painted them red:   
(It looks vampirish xD )


That's all for now!


May 3, 2013

KATYUSHA from the "collection of military vehicles"

There's  magazine which comes out twice a month with military vehicle models. They are fair at best so they are ideal for "playing" with them. They are cheap and you can experiment with them and final result is way better then the original.
This one was awful with almost transparent white plastic and ramp couldn't move so I fixed it a bit ^^


My girlfriend told me to paint the lights yellow.It looks cool actually! :)


Mud!!!!Mooore mud!!!

It can extend the ramp now :)


And this is how the original looked like.


May 2, 2013

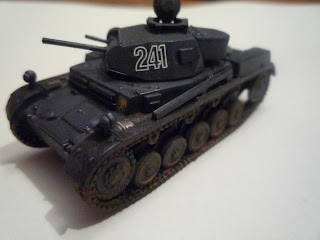
Panzer II ausf. F  by  Revell

Finally finished!


Finishing touches: wash for dusting/mudding


I've seen picture on internet - PzKpfw II tank - and I liked the color so I decided to paint my model that way. It's a bit blue-ish. I like it that way. And I had so much fun painting it!

//


Finished:


There is still some job to be done with terrain, finishing touches so to say, to bring up the depth of track marks a bit.

Next project: T-34! :) SNOOOW VERSION! :D

Apr 15, 2013

High elf prince on gryphonn - Work in progress

 Cloack of Staaaaars!


Preliminary look of wings
A lot of washing and highlighting and washing...


I know I wasn't active this past year, at least not here on this blog but that doesn't mean I wasn't doing things "behind curtains". I was working on this model and yes it is still work in progress. There will be more pictures soon. Also I was doing Panzer II diorama from Revell, so I wil post pictures asap!

Oh and, "Time spent doing what you enjoy is not time lost at all!", hopefully ;)