Showing posts with label photo. Show all posts

Sep 11, 2014

Let's make some woods!

part 2


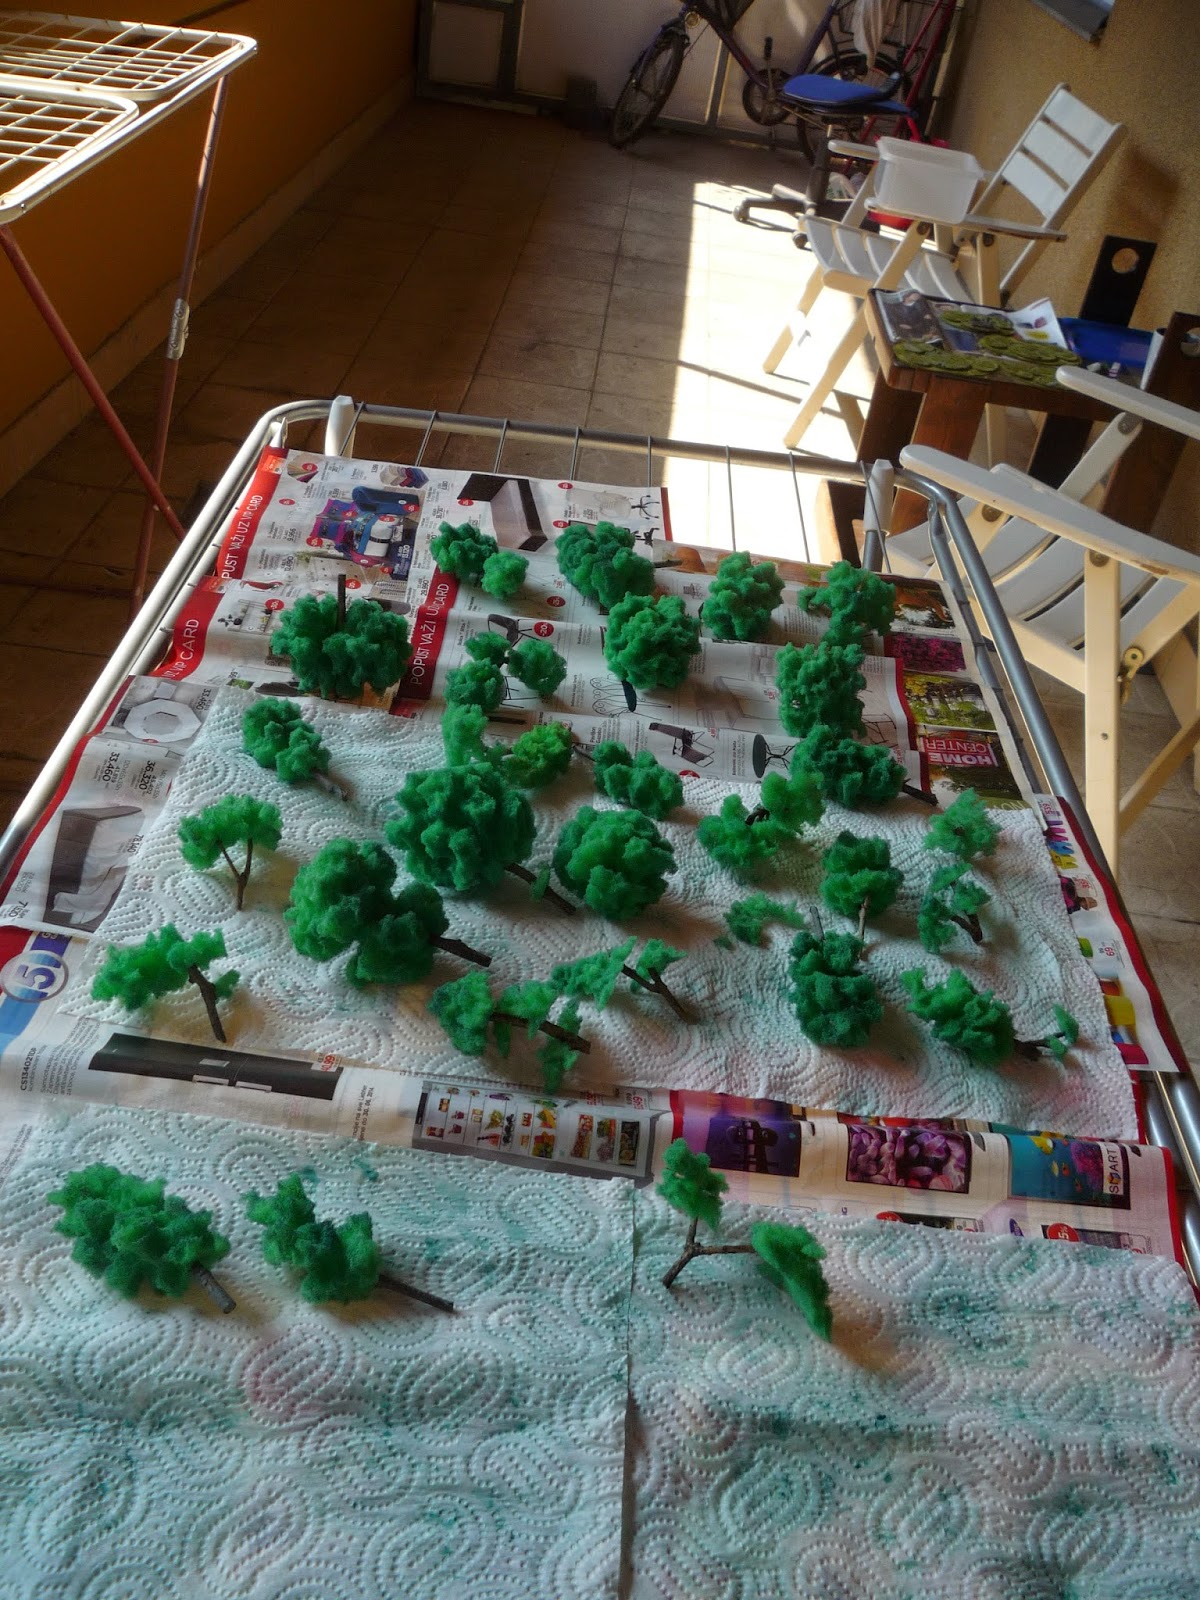
   Well, the trees are dry, it is time for gluing them! Finally!
Top o' the mornin' to ya!


  Bases are ready and looking great under the sunlight!

Better and cheaper than "Battlefield in a box"! :D

Ready for... treeing?

    I spread out the trees and bases in order to make some plan as to where each tree would fit the best in order to make good and game friendly scenery. Each tree will be glued to where it points :)


 I used one team to measure distances between the trees in order to make the final woods usable for gaming purposes:

First tree is in position!


    After repeating this for 20+ times, my home hand made wood terrain for Flames of War is ready! Finally! I feel good about this and I'm satisfied with the result especially if you consider time and money invested in it :) And I think that the good forest terrain will bring more enjoyment to a game.

   Although the threes are painted, in sunlight it is hardly seen, so I'll have to give them a touch or two by hand with some lighter colour to distinguish some highlight, though they look better in real life than here in the photos.


I think that tank passed through here...


   All in all, this was very satisfying "project" to do. It wasn't that time consuming as one would think, and it is easy, really. The hardest part is repetitive nature of making three tops from sponge, other than that everything else is pure creative joy.


 I hope you found this interesting! :)

Sep 10, 2014

Every good game needs terrain...

...so let's make some woods!


   It is very important to me to have decent terrain for playing the game. Maybe even more important than perfectly painted miniatures themselves. Not that I don't care about nicely painted minis, but I'd rather play game in the meantime while painting the army, and in Open Fire set, there's a lot to paint! So, I have decided to do some terrain too! And what better than woods!

   First, I used Open Fire cardboard 2D woods as a pattern for my woods. On hard cardboard I drew those shapes and I cut them. After applying glue and sanding, it was time to paint them. I sprayed them with black acrylic spray and then I used relatively cheap water colours ("tempere") and this is the first result:


Yeah, I used some stones too


Looking great ;)


   This was quite a fast job actually, as I thought it would be way more time consuming. After that, there should be some grass, right?

   For grass flocking I mixed extremely cheap green static grass and not so cheap scorched grass blend, to make it more interesting to look at. 


   And you can relax and enjoy playing with all the small details you can come up with:


   However, the most time consuming part here are, of course, trees. I don't want to make another tree anytime soon. I suppose I'll be saying that for painting infantry once I manage to do that. I started making trees before making these wood stands and continued to make them while making wood stands. I used green car wash sponge and later when I made trees I dipped them in diluted dark green water colours. This turned out to be more or less effective, so I will have to ad some finishing touches on them next time I have the opportunity.

This isn't all, I had to make more of them (13 more!)

Trees are drying


   Finally, stands were finished. In the mourning, when the trees are dry, Ill be assembling woods!


   See you!

                                            FoW begginings

It was good day to start FoW :)


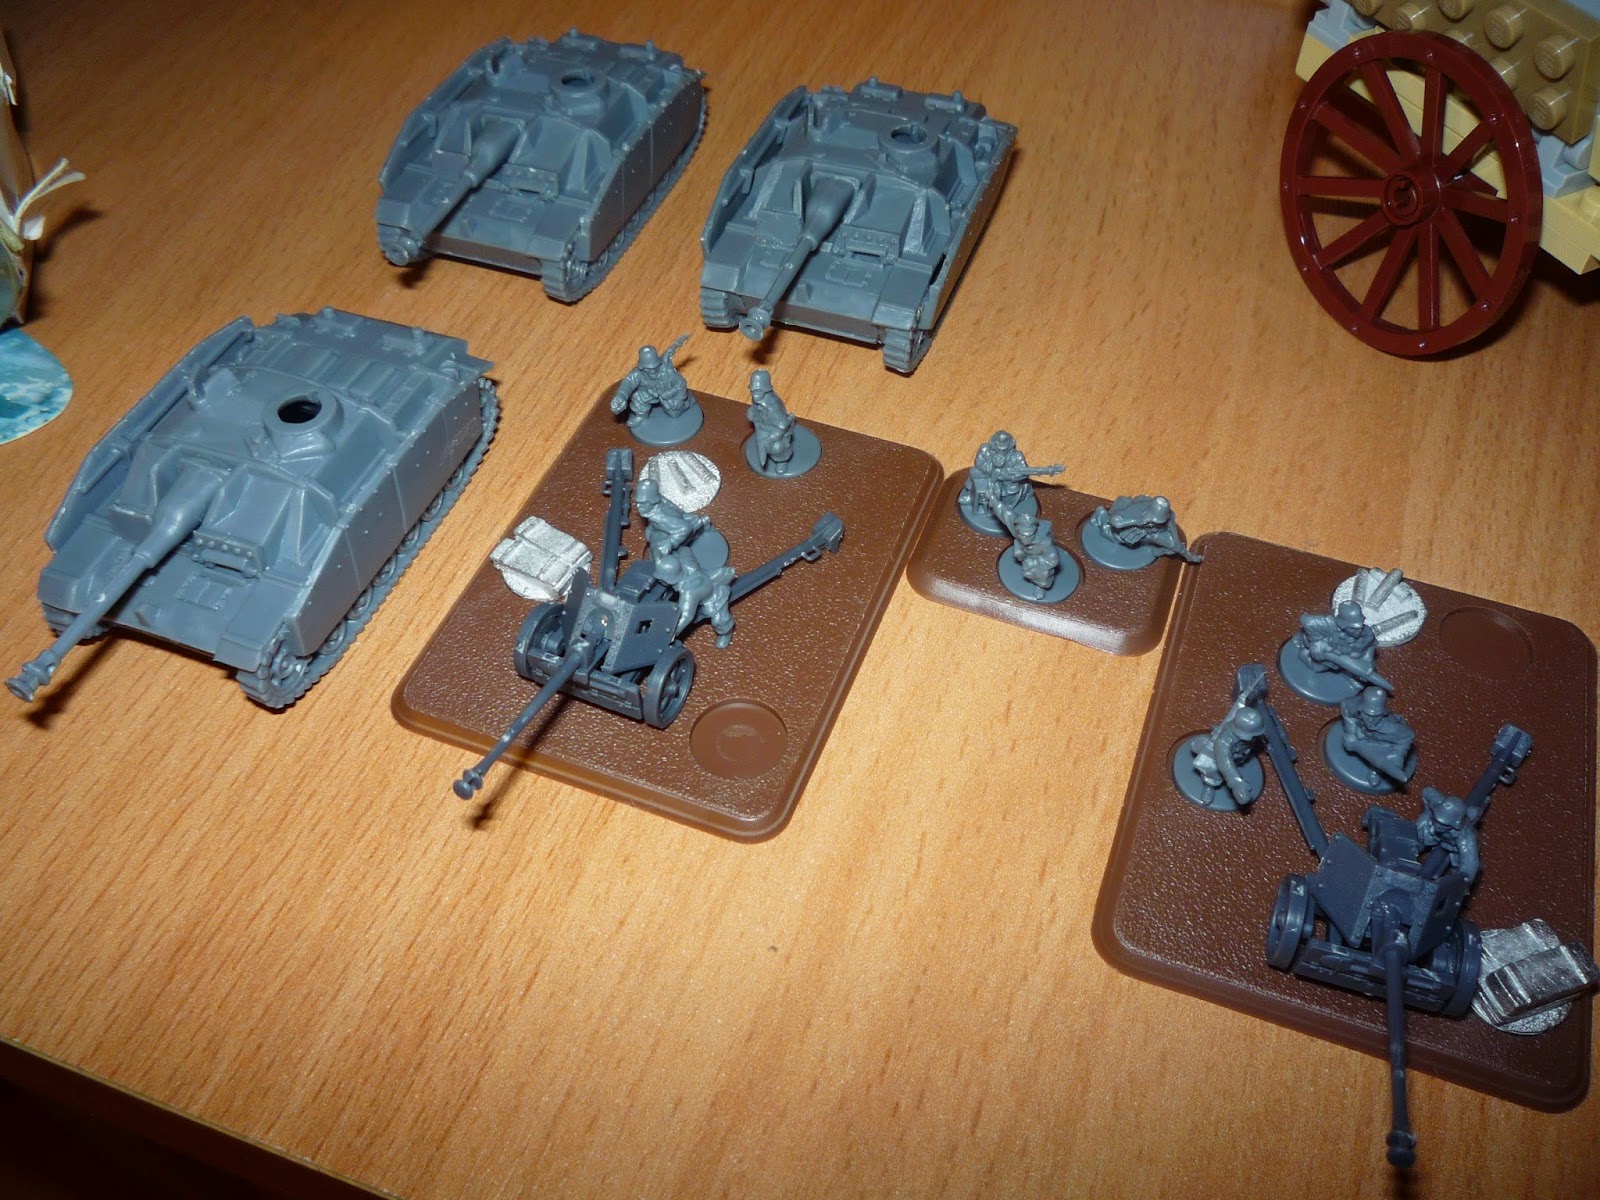
   For everything there's the first time. In this case, those were Stugs from Open Fire set. Also first assembled were Pak40s :)

   Then, there was some trials and errors, experimenting as one could say:


   I had great idea of spraying them (after black overcoat ofcourse) with acrylic spray in this beige colours, and then adding camo pattern with green and brown, however, I didn't know that the spray was glossy and not even wash could fix it. so I had to start all over again and this time with brush. esult is on second photo. Kind of "middlestone", though I made it with GW colours myself.
   After that, there was time to learn painting camo:


   I was very pleased with the pattern while painting, only to find out that I got lost somevhere at the half of it and that it's not very historical. At all. And I didn't stop with experimenting, all of my three Stugs are different. Hey, it's late war, anything goes!


So this is the first one :)


And with the rest:


Battle scared


Command vehicle with air recognition flag


   Next project, Pak40s!
   
   See you!


Jul 22, 2011

And finally here is the bolt thrower:


I am very content how it all came out and I really enjoyed painting it.Actually,bolt thrower is the first thing that I assembled and started painting for my army.I wanted to give it darker,wooden look and I think that I managed to do that very well :)
Rope is made from the mark on the trousers,it is synthetic so it was easy to paint it and I think that it looks pretty cool.I can't wait to place it on the battlefield!

As for the crew,I am content with them too.
Guy who is loading bolts has Asterix's sword on his back-from Kinder Surprise,and it has some nice golden work on it's hilt.
I like how they look.
One interesting thing is maybe the basing-rocks are made from oats-I crushed them a bit and then glued to the base.Some drybrushing did the job.


And that's it!This is what I have finished.I want to complete my Sea Guard unit first.After that I am thinking of chariot-to take a break from infantry,but we'll see ;)

Jul 21, 2011

Meet the champion

I gave him cavalry sword and assembled him to look like he is in the middle of the fight,with raised shield to block attack and his sword ready to strike.
Scale is done using mithril silver and blue ink.

Left sleeve is entirely made from green stuff.
So,that's the champion!:)
So,here are the first 3 guys :)
Musician,soldier and champion.
Currently I am working on banner man and when I finish him I'll have full command.

Musician is converted using silver Helms unicorn horn and some green stuff to make both hands look the same

Right sleeve is totally made from green stuff.
For Tiranoc chariot instead of horses there are unicorns-so I had idea to maybe make it all more thematic when I putted this horn instead of usual spearmen trumpet.

This is the first time I used some washes as well as some layering and blending (on the shield).I still have much to learn but important thing is that I started ;)